13 Sep Drying Herbs: Easier Than You Think
You’ll never buy dried herbs again after you try one or more of these six methods for drying herbs at home.
By Tabitha Alterman
Of all the various types of foods and ways to preserve them — freezing or canning fruits and vegetables, pickling, curing meat, making cheese and yogurt — dehydrating herbs is the easiest place to jump in. Most herbs contain so little moisture that your job is done soon after you’ve bought or harvested them.
Drying herbs is an economically savvy food preservation strategy, too, because fresh and dried herbs and teas demand high prices at the grocery store.
Your own dried herbs will taste better than store-bought because they’ll be newer and thus more pungent. If you grow your own herbs, you can also choose the tastiest varieties. Detailed here are six methods for drying herbs at home.
Herb Drying Basics
When herbs are dried, they are safe from bacteria, mold and yeast, and will remain potent for at least six to 12 months. To remove moisture, all you need is air circulation. Some warmth can also help. The six methods detailed here fit the bill.
Washing herbs usually isn’t necessary if they are grown organically. Harvest herbs in mid-morning before newly developed essential oils have been burned off by the sun, but after the dew has dried. Remove old, dead, diseased or wilted leaves.
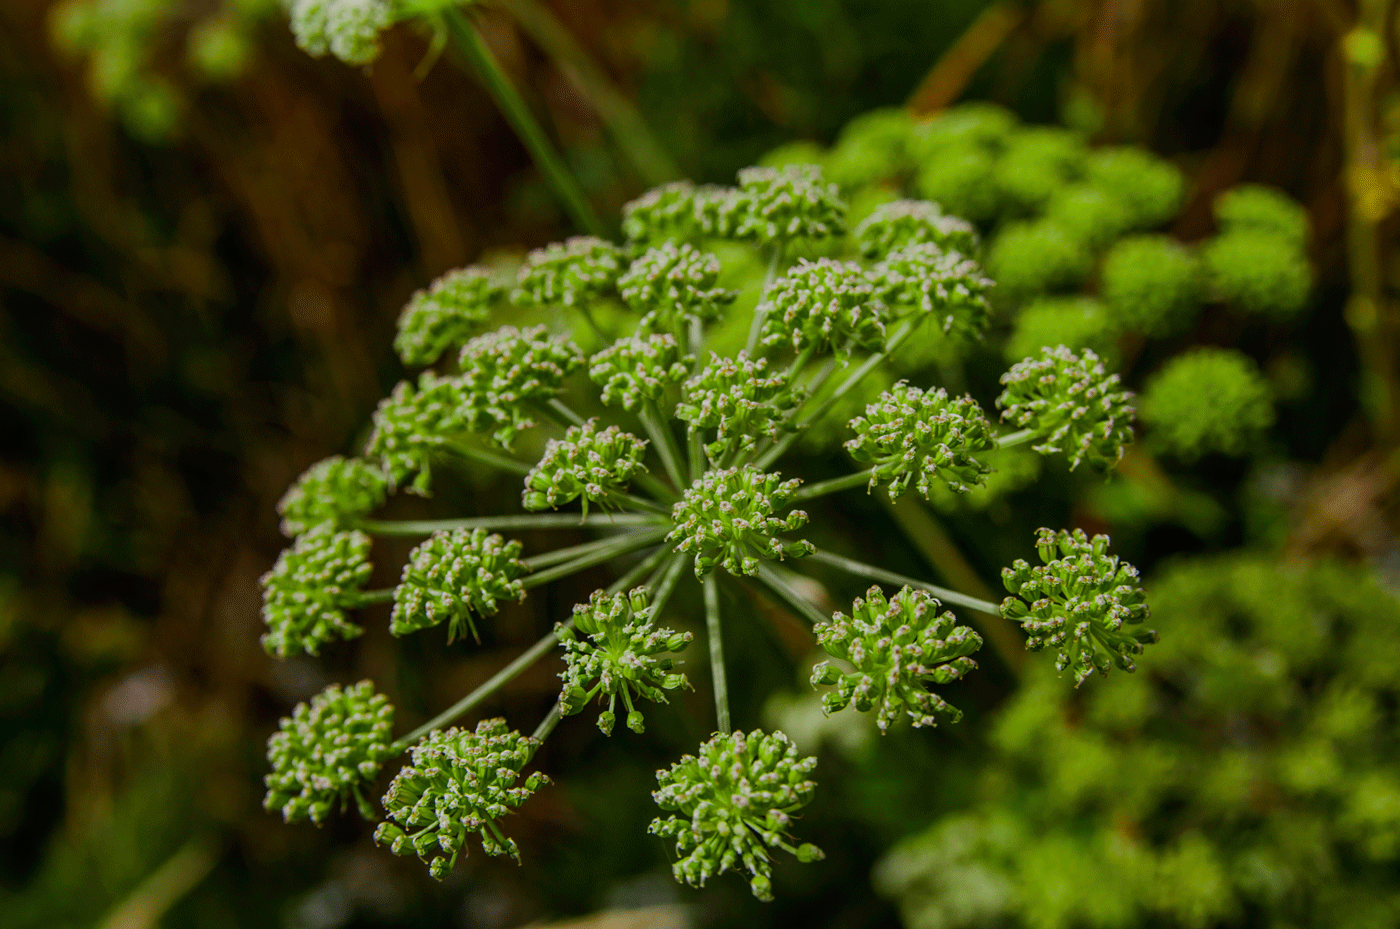
When you harvest herbs for their seeds, the seed heads should be turning brown and hardening, but not yet ready to shatter. To harvest herbs for their flowers — such as chamomile flowers or thyme spikes — snip flower buds off the plants close to the first day the buds open.
Indoor Air Drying Herbs. Tie stems in bundles and hang the herbs upside down. Use twist-ties so you can easily tighten the bundles when stems shrink as they dry. A warm, dry spot is best; avoid the kitchen. Wrap muslin, a mesh produce bag or a paper bag with several holes around the bundle, and tie it at the neck. Carol Costenbader, author of The Big Book of Preserving the Harvest, suggests making a gift this way by using a decorative hole punch and pretty ribbon.
A drying screen helps dry leaves or sprigs. Make your own from an old window screen or hardware cloth mesh stapled to scrap wood or a picture frame. Lay cheesecloth over the screen, and place herbs on the cloth. Herbs can take a few hours to several days to dry fully.
Solar Drying Herbs. This method is easy if you live in a warm, dry place. The ideal solar food-drying conditions are 100 degrees Fahrenheit and 60 percent humidity or less.
Use the sun’s heat to dry herbs, but don’t expose herbs to too much direct sunlight as this could cause them to bleach. Solar drying can be as low-tech as placing drying screens outside until your herbs are brittle (bring them in at night). You can also dry herbs under the windshield or rear window of your car on a hot day. A DIY solar food dryer with stackable drying screens, a glass top to trap radiation, an absorber plate to transmit heat and a vent for air circulation is useful, too. Find our building plans in Build a Solar Food Dehydrator.
Dehydrating Herbs With a Machine. Any tool that reliably turns out a good product and saves you time and money is worth its cost. Food dehydrators range in price from $30 to $400, with between $100 to $200 being the best choice for most of us. Quality dehydrators have handy features such as timers and adjustable temperature control. If you keep the unit stored in a convenient spot, you’ll use it more often and recoup its cost in a season or two of grocery savings.
Dehydrators have a temperature control mechanism — ideally one you can adjust — and a fan to circulate air. Round models with multiple stacking trays are the most energy-efficient. Box-type models that allow you to remove some of the trays can be handy for drying large items and can serve other purposes, such as proofing bread dough or culturing yogurt. Follow your machine’s instructions.
Oven Drying Herbs. Drying herbs in an oven sounds easy because most of us have one and know how to use it. But this is actually the most labor-intensive, and the least energy-efficient method. Herbs need to be dried at about 100 degrees, but most ovens don’t go that low. They also need air circulation, and some ovens don’t have vents. You’ll need to get an oven thermometer and experiment. Try turning the oven on warm or its lowest setting for a while, then turning it off (while leaving the light on). You can also try propping the door open slightly with a wooden spoon.
Check how long it takes for the temperature to drop to 100 degrees and how long it stays at that temperature.
Herbs are far easier than fruits and vegetables to oven-dry because they dry more quickly and are more forgiving. If you plan to learn how to use your oven for food dehydration, definitely start with herbs. Layer them on cheesecloth over a wire cooling rack to allow for air circulation all around, and place the rack in the middle of the oven when the temperature is about 100 degrees.
Microwave Drying Herbs. The microwave can successfully dry herbs, but note that food-drying experts do not recommend it for drying foods that have more moisture. It’s not as easy as air drying or using an electric dehydrator.
To dry herbs in a microwave, strip leaves off of the stems and place the leaves between layers of paper towels. Begin on high power for 1 minute, allow a 30-second rest, and then alternate between 30 seconds on high power and 30 seconds of rest. Most herbs should dry fully in 10 minutes or less.
Refrigerator Drying Herbs. Another super-simple method of drying herbs basically amounts to neglect. Simply stick them in the fridge and forget about them for a few days. This handy tip was discovered by the late herb authority Madalene Hill and her daughter, Gwen Barclay, who contributed to MOTHER EARTH NEWS 20 years ago.
By accident, they discovered that herbs left alone (out of packaging) in a cold, dry refrigerator dried beautifully crisp and also retained their color, flavor and fragrance.
They even liked this method for parsley and chives, which don’t have the best reputation for keeping great flavor in dried form. The challenge is finding enough room to let herbs sit uncovered for a few days.
If your fridge has available space, by all means, give it a try. To read Hill and Barclay’s original article, go to Dry Your Herbs in the Fridge.
Storing Home-Dried Herbs
Your herbs have finished drying when you can crumble them easily, but don’t crumble them all! Whole leaves and seeds retain oils better in storage than crumbled herbs. Still, having some pre-mixed spice blends — such as those for Italian, Mexican or barbecue dishes — can be a big timesaver. Use a mortar and pestle to grind the ingredients. Tea blends are also useful, such as a combination of peppermint and fennel to calm an upset stomach. Store dried herbs in airtight jars out of direct light and away from high heat.
Always label jars immediately with the date and contents. If you grew a particular variety, be sure to include its name so you can pinpoint your favorites over time. Check new jars for droplets of moisture or mold. Throw out anything moldy, and redry anything that created moisture in the jar.
When using dried herbs in recipes that call for fresh, keep in mind that oils in dried herbs are more concentrated. Use about half the amount of dried herbs in a recipe calling for fresh herbs, and about a quarter as much if the dried herb has been finely ground. To use herbs in teas, pour boiling water over a teaspoon to a tablespoon of the dried herb, or more to taste, and steep for 5 to 10 minutes.
— Get more drying tips in Food Drying With an Attitude by Mary T. Bell.
Choosing Herbs for Drying
The following herbs are good candidates for drying. Some herbs, although they can be dried, retain their flavor better if frozen. These include basil, borage, chives, cilantro, lemongrass, mint, parsley.
Leaves: bay, celery, chervil, dill, geranium, lemon balm, lemon verbena, lovage, marjoram, oregano, rosemary, sage, summer savory, tarragon, thyme
Seeds: anise, caraway, celery, chervil, coriander, cumin, dill, fennel, mustard
Flowers: bee balm, chamomile, chive, dill, geranium, lavender, linden, marigold, nasturtium, rose, thyme, yarrow